Option C: Email-Enabled Voicemail Setup
This guide walks you through implementing the callback-and-voicemail-with-email template feature, which provides a complete voicemail solution with automated email notifications.
This guide is for existing legacy deployments. For new implementations:
- Email Notifications Add-On - Modern email setup with Mailgun, SendGrid options
For existing deployments: Continue with the detailed setup below.
This is the most advanced voicemail option in the legacy architecture. If you need something simpler, see the Legacy Implementation Guide for other options. :::
What You're Building
Caller Experience:
- Calls your client's number
- Waits in queue with hold music and options
- Can press * anytime to request callback OR leave voicemail
- Professional in-queue experience
Administrator Experience:
- Receives instant email notification when voicemails are left
- Email includes audio recording as attachment
- Complete transcription included in email
- Professional formatting with all call details
Agent Experience:
- Voicemail tasks appear normally in ConnieRTC
- All standard callback and voicemail handling
- No workflow changes required
Prerequisites
Required Access:
- ✅ Admin access to your organization's Connie deployment
- ✅ Access to your client's domain DNS settings
- ✅ Your client's admin email address
Accounts Needed:
- ✅ Mailgun account (free tier supports 100 emails/day)
- ✅ Domain registrar access (GoDaddy, Namecheap, etc.)
This guide assumes you have basic familiarity with environment configuration. If you're new, allow extra time for the DNS setup steps.
Step 1: Client Information Gathering
Before starting, collect this information from your client:
# CLIENT CONFIGURATION TEMPLATE
# Copy this and fill in your client's actual values

CLIENT_ORGANIZATION_NAME="Your Client's Organization Name"
CLIENT_DOMAIN="clientdomain.com"
CLIENT_ADMIN_EMAIL="admin@clientdomain.com"
CLIENT_PHONE_NUMBER="+18005551234"

# You'll create these in the next steps:
MAILGUN_DOMAIN="voicemail.clientdomain.com"
MAILGUN_API_KEY="[Will be generated]"
Step 2: Mailgun Account Setup
Create Mailgun Account
- Go to mailgun.com and create an account
- Choose US region (recommended for most clients)
- Verify your email and complete account setup
Add Your Client's Domain
Use a dedicated subdomain for best deliverability:
- Recommended format:
voicemail.[clientdomain].com - Example: If client domain is
helpinghand.org, usevoicemail.helpinghand.org
Setup steps:
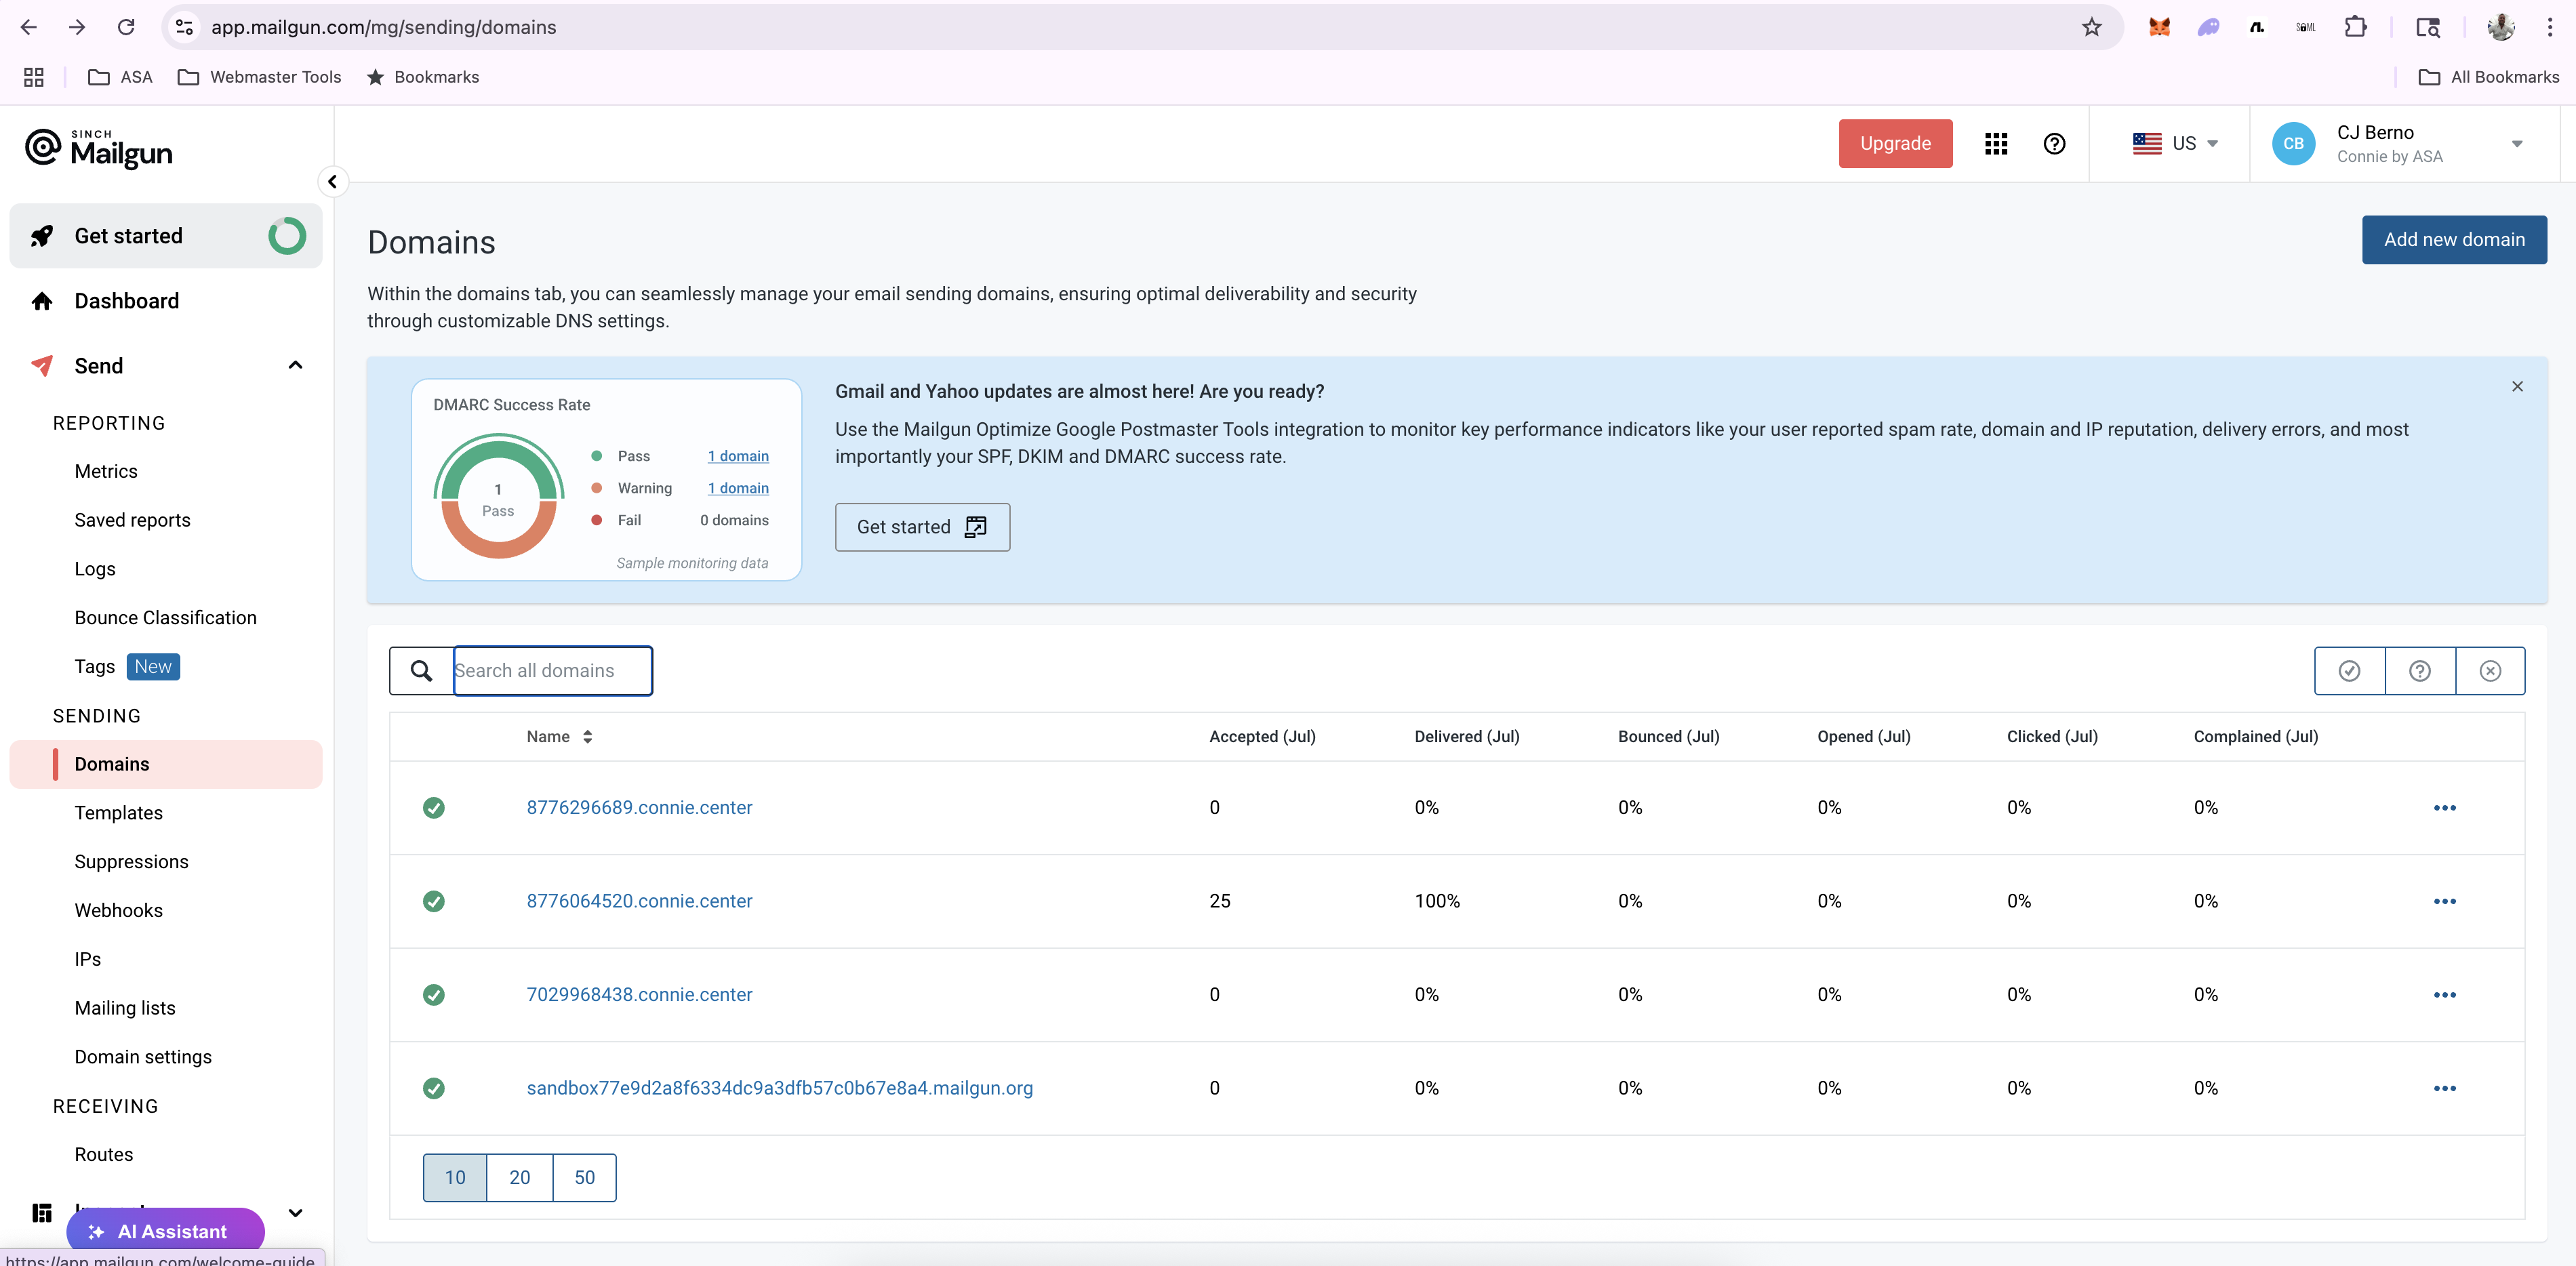
- In Mailgun dashboard → Sending → Domains
- Click Add New Domain
- Enter:
voicemail.[YOUR_CLIENT_DOMAIN] - Select US region
- Click Add Domain
Configure DNS Records
Mailgun will provide DNS records. Add these to your client's domain:
# Example DNS records (yours will be different)
Type: TXT
Name: voicemail.helpinghand.org
Value: v=spf1 include:mailgun.org ~all

Type: TXT
Name: smtp._domainkey.voicemail.helpinghand.org
Value: k=rsa; p=MIGfMA0GCSqGSIb3DQEBAQUAA4GNADCBiQ...

Type: CNAME
Name: email.voicemail.helpinghand.org
Value: mailgun.org

Type: MX
Name: voicemail.helpinghand.org
Value: 10 mxa.mailgun.org
DNS changes take 1-24 hours to propagate. You can check verification status in Mailgun dashboard under Domains → Domain Verification.
Get Your Sending API Key
Do NOT use the Private API key from Settings → API Keys. You need a domain-specific sending key for the email functionality to work properly.
After your domain is created and DNS records are configured:
- Navigate to your domain: Mailgun dashboard → Sending → Domains
- Click on your domain (e.g.,
voicemail.clientdomain.com) - Go to Domain Settings: Click Domain settings button
- Access Sending Keys: Click the Sending keys tab
- Create a sending key: Click Add sending key
- Copy both values:
- Key ID (e.g.,
45de04af-85e71f21) - API Send Key (long string starting with various prefixes)
- Key ID (e.g.,
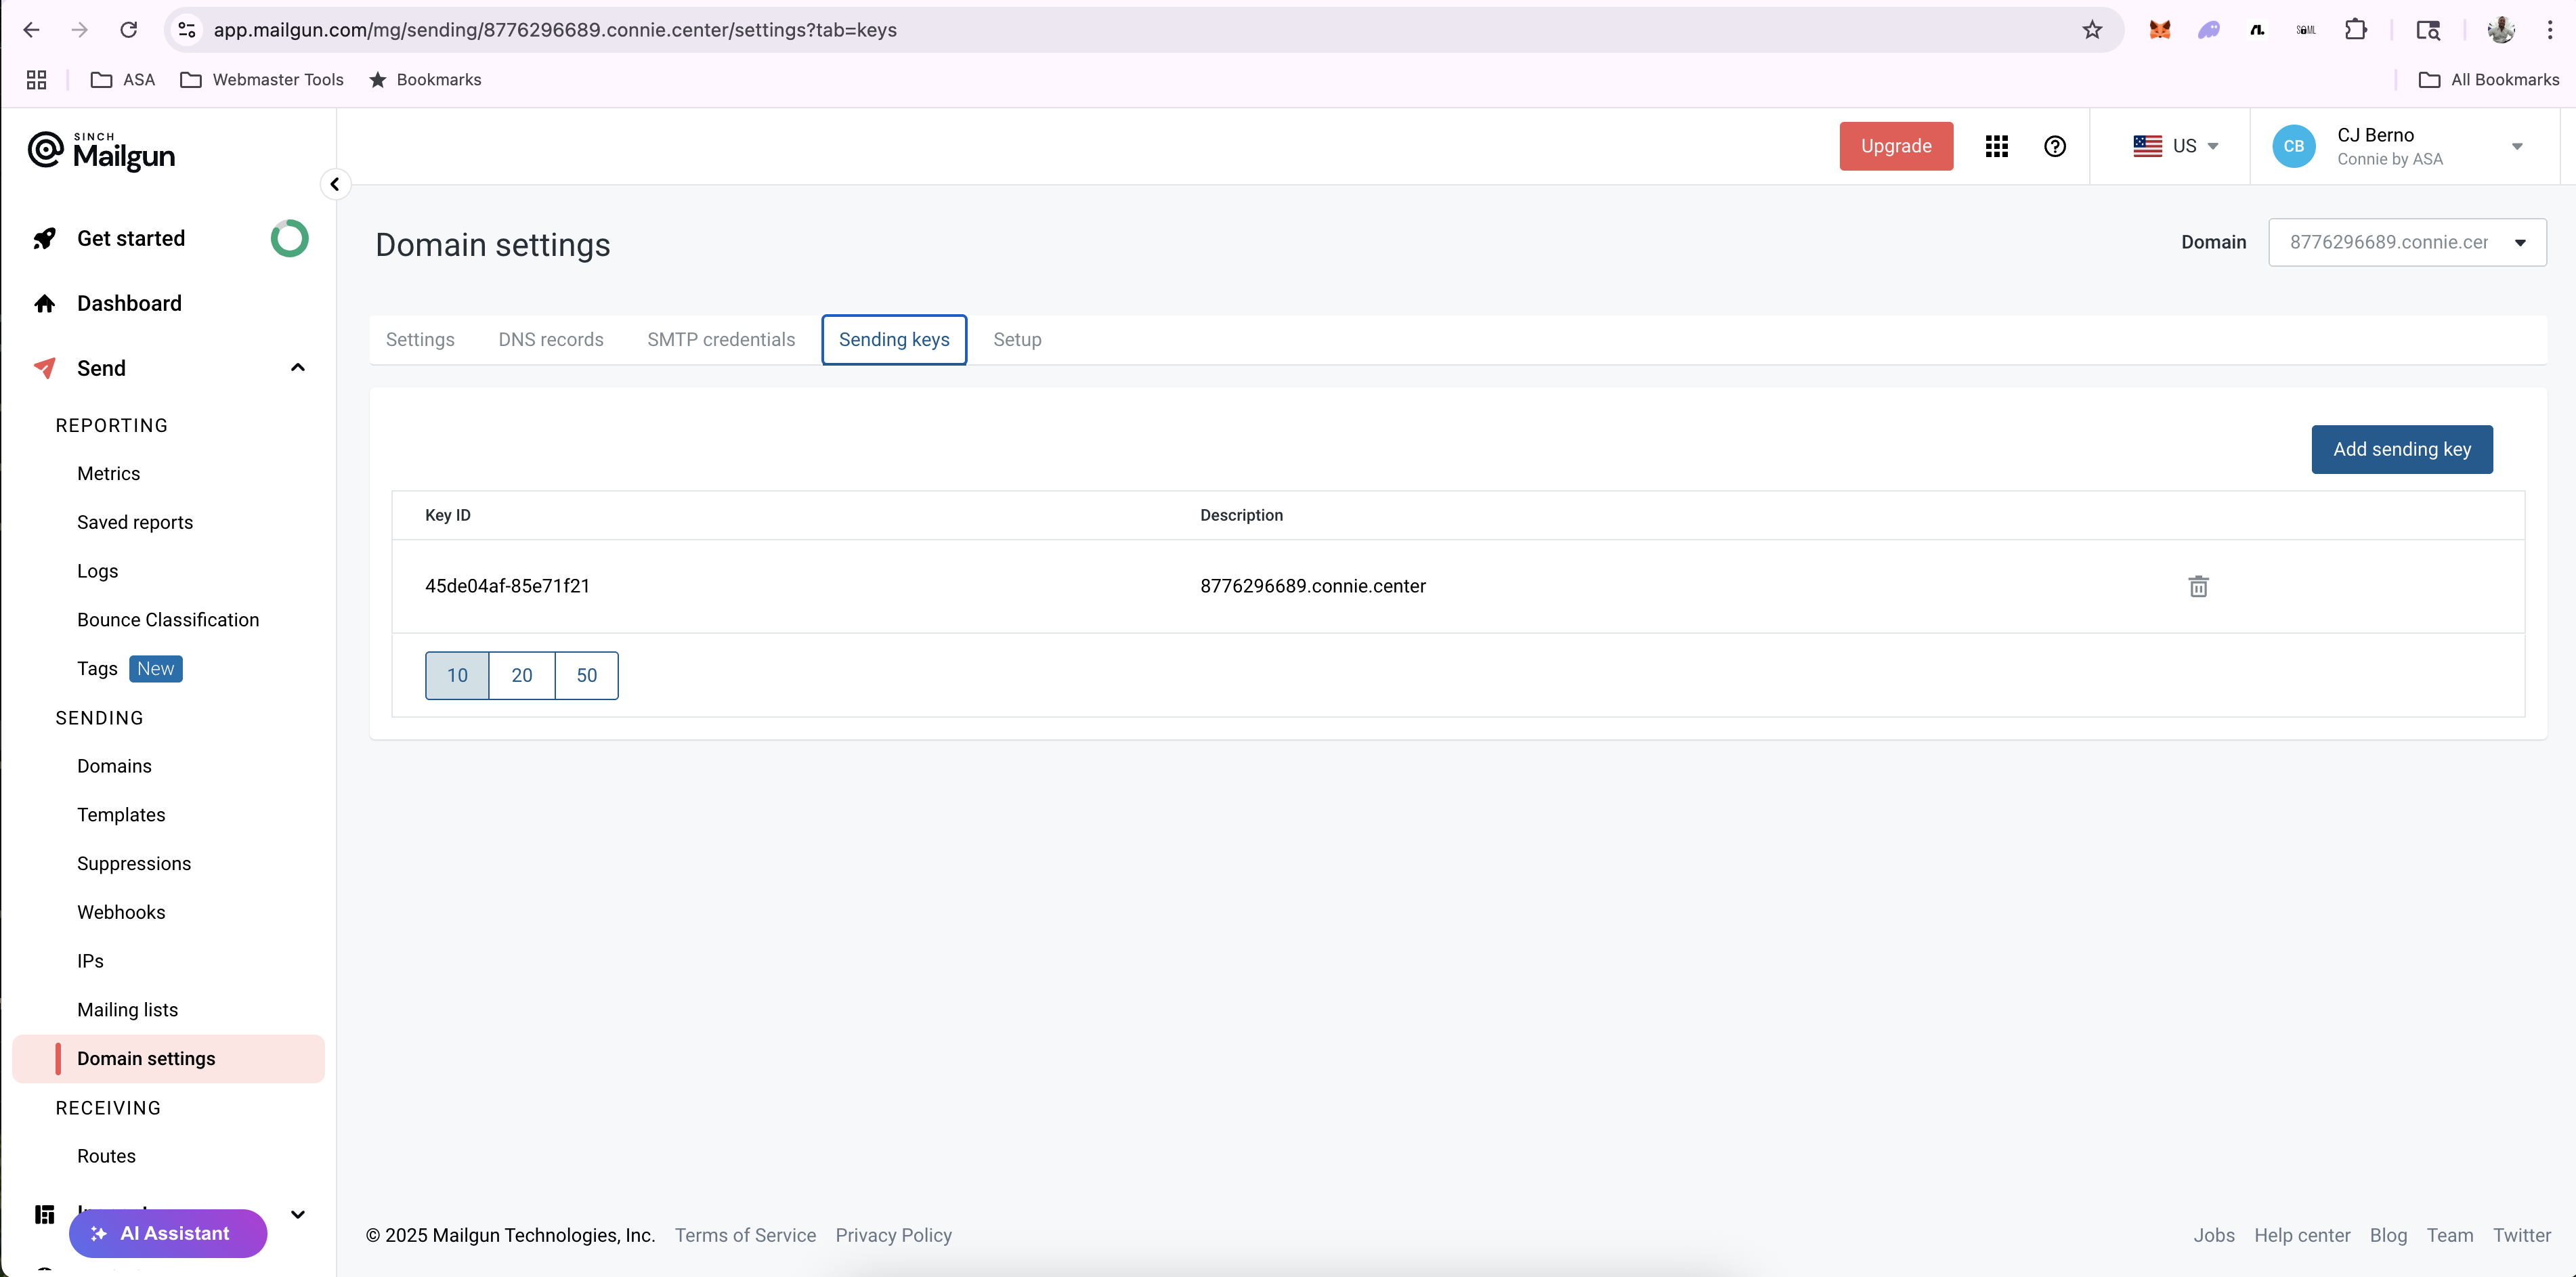
- Use the API Send Key for your
MAILGUN_API_KEYenvironment variable - Save both the Key ID and API Send Key in a secure location
Test Mailgun Setup
This step prevents 90% of deployment failures. You MUST verify API credentials work before proceeding.
Use this exact command to test:
# TEST MAILGUN API BEFORE DEPLOYMENT
curl -s -w "\nHTTP Status: %{http_code}\n" --user "api:[YOUR_SENDING_API_KEY]" \
    https://api.mailgun.net/v3/[YOUR_DOMAIN]/messages \
    -F from='Test <test@[YOUR_DOMAIN]>' \
    -F to='[ADMIN_EMAIL]' \
    -F subject='Pre-Deployment API Test' \
    -F text='If you receive this, Mailgun API is working correctly.'
Expected result:
{"id":"<20250722104855.38483d1186b94dc9@yourdomain.com>","message":"Queued. Thank you."}
HTTP Status: 200
- HTTP 401: Wrong API key - use domain-specific sending key
- HTTP 404: Domain not found - check domain configuration
- Any other error: Do NOT proceed with deployment
API Key Type Verification:
- ✅ Domain Sending Key:
65cca1c374d5df6329441cabc102ac86-45de04af-f8ba43f2 - ❌ Private API Key:
key-1234567890abcdef(DON'T USE THIS)
Step 3: Pre-Deployment Checklist
Before proceeding, ensure you have ALL of the following information:
✅ Connie Account Details:
- Account SID (format:
AC...) - Auth Token
- Twilio CLI profile configured and active
✅ Twilio ConnieRTC Configuration:
- Workspace SID (format:
WS...) - "Assign to Anyone" Workflow SID (format:
WW...)
✅ Mailgun Configuration:
- Domain verified (DNS records propagated)
- API test successful (Step 2)
- Domain-specific sending API key saved
✅ Client Information:
- Phone number to configure
- Admin email address(es) for notifications
Step 4: Configure Template Feature
The voicemail-with-email functionality is already built into your ConnieRTC template. You just need to configure it.
Update Environment Variables
In your Connie deployment, add these environment variables to Twilio Functions:
# REQUIRED ENVIRONMENT VARIABLES
# Add these to your Connie Functions environment

ADMIN_EMAIL=admin@clientdomain.com
MAILGUN_DOMAIN=voicemail.clientdomain.com
MAILGUN_API_KEY=your-mailgun-sending-api-key

# For multiple admin emails (separate emails sent to each):
# ADMIN_EMAIL=admin1@domain.com,admin2@domain.com
The MAILGUN_API_KEY must be the API Send Key from the domain's Sending keys tab, NOT the Private API key from Settings → API Keys.
To send notifications to multiple administrators, use comma-separated emails. The system sends separate emails to each recipient for better reliability.
How to add environment variables:
- Twilio Console → Functions & Assets → Services
- Select your ConnieRTC serverless service
- Settings → Environment Variables
- Add the three variables above
Update Feature Configuration
Enable the feature in your ConnieRTC configuration:
{
  "features": {
    "callback_and_voicemail_with_email": {
      "enabled": true,
      "allow_requeue": true,
      "max_attempts": 3,
      "auto_select_task": false,
      "enable_email_notifications": true
    }
  }
}
Step 5: Critical Code Update
This is the #1 cause of "option not available" errors. You MUST update the hardcoded workflow SID before deployment.
Update Wait Experience Function
File: /serverless-functions/src/functions/features/callback-and-voicemail-with-email/studio/wait-experience.protected.js
Line: ~135
// TEMPORARY FIX: Hardcode workflow SID to bypass buggy queue friendlyName logic
const enqueuedWorkflowSid = 'WW...'; // YOUR "Assign to Anyone" workflow SID
How to find your workflow SID:
- Twilio Console → TaskRouter → Workspaces
- Select your ConnieRTC workspace
- Click Workflows
- Find "Assign to Anyone" workflow
- Copy the SID (starts with
WW)
Example:
// Before (will cause failures):
const enqueuedWorkflowSid = 'WW3657f8c5b384cdad9c6d37cbaedd1013'; // HHOVV workflow

// After (updated for your account):
const enqueuedWorkflowSid = 'WW68ed6f6bc555f21e436810af747722a9'; // Your workflow
Step 6: Deploy the Implementation
Deploy Serverless Functions
# Navigate to your ConnieRTC template directory
cd serverless-functions

# Deploy the updated functions with your new environment variables
npm run deploy
Deployment output will show:
domain            custom-flex-extensions-serverless-XXXX-dev.twil.io
...
protected /features/callback-and-voicemail-with-email/studio/send-voicemail-email
protected /features/callback-and-voicemail-with-email/studio/wait-experience
Copy the domain URL (e.g., custom-flex-extensions-serverless-4044-dev.twil.io). You'll need this for Studio Flow configuration and monitoring.
Verify Environment Variables Deployed
# List deployed environment variables
twilio api:serverless:v1:services:environments:variables:list \
  --service-sid ZS... \
  --environment-sid ZE...
Look for:
ADMIN_EMAILMAILGUN_DOMAINMAILGUN_API_KEY
Apply Infrastructure Changes
# Navigate to terraform directory
cd infra-as-code/terraform/environments/default

# Enable the callback-and-voicemail-with-email module in your tfvars
# Add this line to your local.tfvars:
# callback_and_voicemail_with_email_enabled = true

# Apply the changes
terraform plan -var-file="local.tfvars"
terraform apply -var-file="local.tfvars"
This creates:
- ✅ TaskRouter workflow for callback/voicemail routing
- ✅ Studio Flow with email integration
- ✅ All required serverless functions
In the Studio Flow Send to ConnieRTC widget, the field is called "Hold Music TwiML URL" (NOT "Wait URL"). This URL handles the caller experience while waiting in queue.
Connect to Phone Number
- Twilio Console → Phone Numbers → Active Numbers
- Click your client's phone number
- Voice Configuration → A call comes in
- Select the new Studio Flow: "Template Example Callback With Email Flow"
- Save configuration
If the Studio Flow doesn't appear in the dropdown, use the CLI method:
# Create flow JSON file
cat > callback-voicemail-email-flow.json << 'EOF'
{
  "description": "Callback and Voicemail with Email Flow",
  "states": [
    {
      "name": "Trigger",
      "type": "trigger",
      "transitions": [
        {"event": "incomingMessage"},
        {"next": "send_to_flex_1", "event": "incomingCall"},
        {"event": "incomingConversationMessage"},
        {"event": "incomingRequest"},
        {"event": "incomingParent"}
      ],
      "properties": {"offset": {"x": -70, "y": -60}}
    },
    {
      "name": "send_to_flex_1",
      "type": "send-to-flex",
      "transitions": [
        {"event": "callComplete"},
        {"event": "failedToEnqueue"},
        {"event": "callFailure"}
      ],
      "properties": {
        "waitUrl": "https://YOUR-DEPLOYMENT-DOMAIN/features/callback-and-voicemail-with-email/studio/wait-experience",
        "offset": {"x": 170, "y": 100},
        "workflow": "YOUR-WORKFLOW-SID",
        "channel": "voice",
        "attributes": "{\"call_sid\": \"{{trigger.call.CallSid}}\", \"callBackData\": {\"attempts\": 0}}",
        "waitUrlMethod": "POST"
      }
    }
  ],
  "initial_state": "Trigger",
  "flags": {"allow_concurrent_calls": true}
}
EOF

# Replace YOUR-DEPLOYMENT-DOMAIN and YOUR-WORKFLOW-SID

# Create the flow
twilio api:studio:v2:flows:create \
  --friendly-name "Callback and Voicemail with Email Flow" \
  --status published \
  --definition "$(cat callback-voicemail-email-flow.json)"
Step 7: Automated Testing
Pre-Deployment Test Script
Use the comprehensive test script to validate your deployment:
# Navigate to your ConnieRTC directory
cd /path/to/connieRTC-basecamp

# Set your configuration variables
export ACCOUNT_SID="AC..."
export PHONE_NUMBER="+1..."
export ADMIN_EMAIL="admin@clientdomain.com"
export MAILGUN_DOMAIN="voicemail.clientdomain.com"
export MAILGUN_API_KEY="your-domain-sending-api-key"
export DEPLOYMENT_DOMAIN="custom-flex-extensions-serverless-XXXX-dev.twil.io"
export WORKFLOW_SID="WW..."

# Run the comprehensive test
./test-voicemail-email-workflow.sh
The script validates:
- ✅ Twilio CLI configuration
- ✅ Mailgun API credentials
- ✅ Serverless function deployment
- ✅ Environment variables
- ✅ Studio Flow configuration
This test script catches 90% of configuration issues before manual testing, saving significant troubleshooting time.
Step 8: Manual Test Your Implementation
Complete Test Workflow
- Call the client's number
- Listen to the greeting and wait for options
- Press * (star) during hold music
- Press 2 for voicemail option
- Leave a test message (say your name and timestamp)
- Hang up
Expected Results
In ConnieRTC:
- Voicemail task appears in the queue
- Task contains recording and transcription
- Agents can handle normally
In Email:
- Email arrives at admin address within 1-2 minutes
- Subject: "New Voicemail from [phone number]"
- Body includes all call details and transcription
- .wav audio file attached
Sample Email Content:
New voicemail received:

From: +15105551234
To: +18005551234
Date: 2024-01-15T14:30:00.000Z
Recording ID: REabc123...

Transcription:
Hi, this is John testing the voicemail system at 2:30 PM.

The audio recording is attached to this email.

---
This is an automated message. Please do not reply.
Step 9: Production Optimization
Monitoring Setup
Function URLs for Real-Time Monitoring:
- Email Function Logs:
https://[YOUR-DEPLOYMENT-DOMAIN]/features/callback-and-voicemail-with-email/studio/send-voicemail-email - Call Flow Logs:
https://[YOUR-DEPLOYMENT-DOMAIN]/features/callback-and-voicemail-with-email/studio/wait-experience
Access logs via:
- Twilio Console → Functions & Assets → Services → Your Service → Environment → Live Logs
- Or use CLI:
twilio serverless:logs --service-sid ZS... --environment-sid ZE...
Check these regularly:
- Mailgun dashboard for delivery rates
- Twilio Function logs for errors
- DNS record status
Monthly maintenance:
- Test complete voicemail-to-email flow
- Review Mailgun usage and costs
- Verify DNS records unchanged
Performance Considerations
File Size Handling:
- Files under 20MB: Attached directly
- Files over 20MB: Download link provided
- Automatic timeout protection
Email Delivery:
- Typical delivery: 1-5 seconds
- Free tier: 100 emails/day
- Paid plans available for higher volume
Troubleshooting
Common Failure Points & Solutions
| Error | Cause | Solution |
|---|---|---|
| "Option not available at this time" | Wrong/missing workflow SID | Update wait-experience.protected.js line 135 |
| 401/403 email errors | Wrong API key type | Use domain sending key, not private key |
| Flow not in phone config | Creation failed in Console | Use CLI method in Step 5 |
| No environment vars in Console | Browser cache/wrong environment | Verify with CLI, refresh browser |
No Email Received
First check for authentication errors:
# Test API directly
curl -s -w "\nHTTP Status: %{http_code}\n" --user "api:[YOUR_KEY]" \
    https://api.mailgun.net/v3/[YOUR_DOMAIN]/messages \
    -F from='Test <test@[YOUR_DOMAIN]>' \
    -F to='[ADMIN_EMAIL]' \
    -F subject='Debug Test' \
    -F text='Testing email delivery'
Check Mailgun logs:
- Mailgun dashboard → Logs
- Look for your test email
- Check delivery status
Common issues:
- DNS records not propagated (wait 24 hours)
- Wrong API key format (using private key instead of sending key)
- Admin email in spam folder
Email Without Attachment
Check Function logs:
- Twilio Console → Functions → Logs
- Look for voicemail function execution
- Check for download errors
Common issues:
- Recording URL not accessible
- Network timeout during download
- File size exceeded limits
Voicemail Task Not Created
This indicates email integration broke the core functionality:
- Check Function logs for errors
- Verify all environment variables present
- Test with original callback-and-voicemail feature
Quick fix:
- Disable email temporarily by removing ADMIN_EMAIL environment variable
- Redeploy functions
- Test core voicemail functionality
Cost Planning
Mailgun Costs
- Free tier: 100 emails/day
- ConnieRTC plans: Start at $35/month for 1,250/month
- Pay-as-you-go: Available for variable volume
Estimating Volume
- Average organization: 5-20 voicemails/day
- High-volume organizations: 50+ voicemails/day
- Plan accordingly for your client's expected usage
Security Best Practices
API Key Management
- Store keys in Twilio Functions environment variables only
- Never commit keys to code repositories
- Rotate keys quarterly
- Use separate keys for testing vs production
Email Security
- Use dedicated subdomain (voicemail.domain.com)
- Implement all DNS security records (SPF, DKIM, DMARC)
- Monitor DNS for unauthorized changes
- Set up proper reverse DNS
Data Privacy
- Voicemail recordings contain sensitive data
- Ensure Mailgun account complies with client's privacy requirements
- Consider email encryption for sensitive environments
- Implement retention policies
Professional Services Available
Our team can handle the complete setup including:
- Mailgun account configuration
- DNS record setup
- Template deployment and testing
- Client training and documentation
Contact your Connie representative for professional services options.
Your client now has enterprise-grade voicemail functionality with automated email notifications and professional caller experience!