Getting Started with Connie
This guide walks you through your first login and initial setup of your Connie account.
🚀 Step 1: Access the Connie Web Portal
- Navigate to the Connie web portal: https://portal.connie.team
- You'll see the login screen
🔐 Step 2: Enter Your Credentials
Your local Connie administrator should have provided you with temporary login credentials:
Username
- Your business email address (this cannot be changed)
- Example:
jane.smith@organization.org
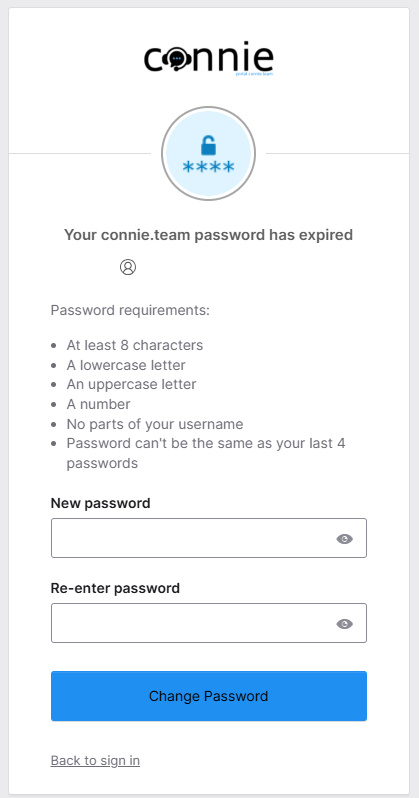
Password
- You'll receive a temporary password from your administrator
- You'll be prompted to create a new, secure password upon your first login
- You'll also need to reset your password whenever you reset it in the future
Keep Me Signed In
- ✅ Select this option if you're using a personal device
- ❌ Do not select if you're using a shared/public device
📱 Step 3: Set Up Google Authenticator (Two-Factor Authentication)
Connie uses two-factor authentication (2FA) to keep your account secure. You'll need to download and set up Google Authenticator on your mobile device.

Download Google Authenticator
Download the Google Authenticator app on your mobile device:
- iOS: App Store
- Android: Google Play Store
Set Up the App
- Open the app - You'll see a welcome screen
- Select "Get started"
- Choose your backup option:
- Sign in to Google account - Allows you to back up your codes (recommended)
- Use Authenticator without an account - No backup option
- Tap the "+" icon (bottom right corner)
- Select "Scan a QR code"
- Scan the QR code displayed on the Connie web portal
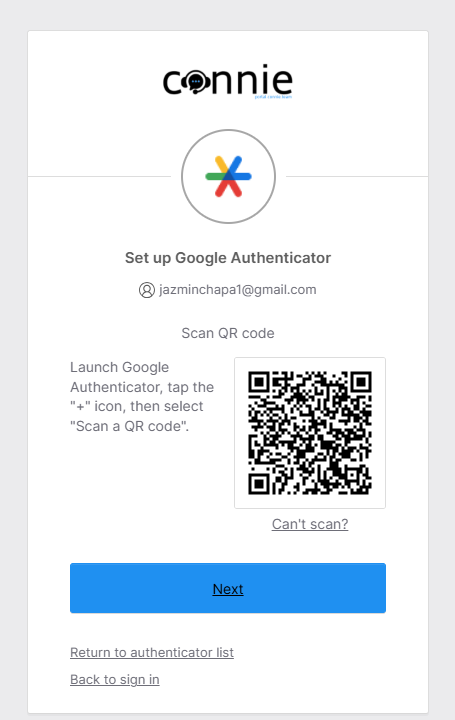
Complete Login
- Click "Next" on the Connie portal
- Enter the 6-digit code displayed in Google Authenticator
- You'll be taken to your Connie dashboard
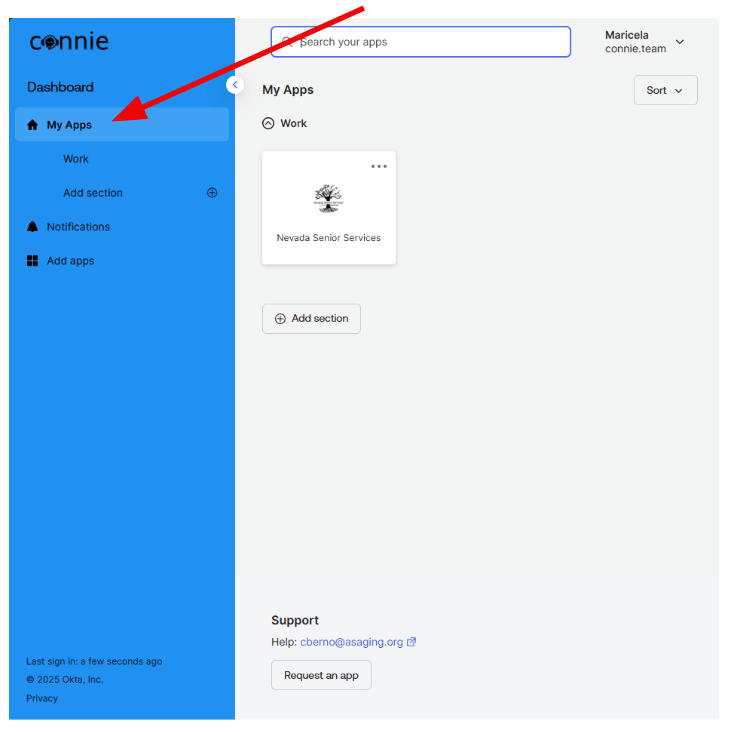
🏠 Step 4: Access Your Organization's App
From the Connie dashboard:
- Select "My Apps" from the navigation
- Select the app associated with your CBO/agency
Congrats, you're logged in! 🎉
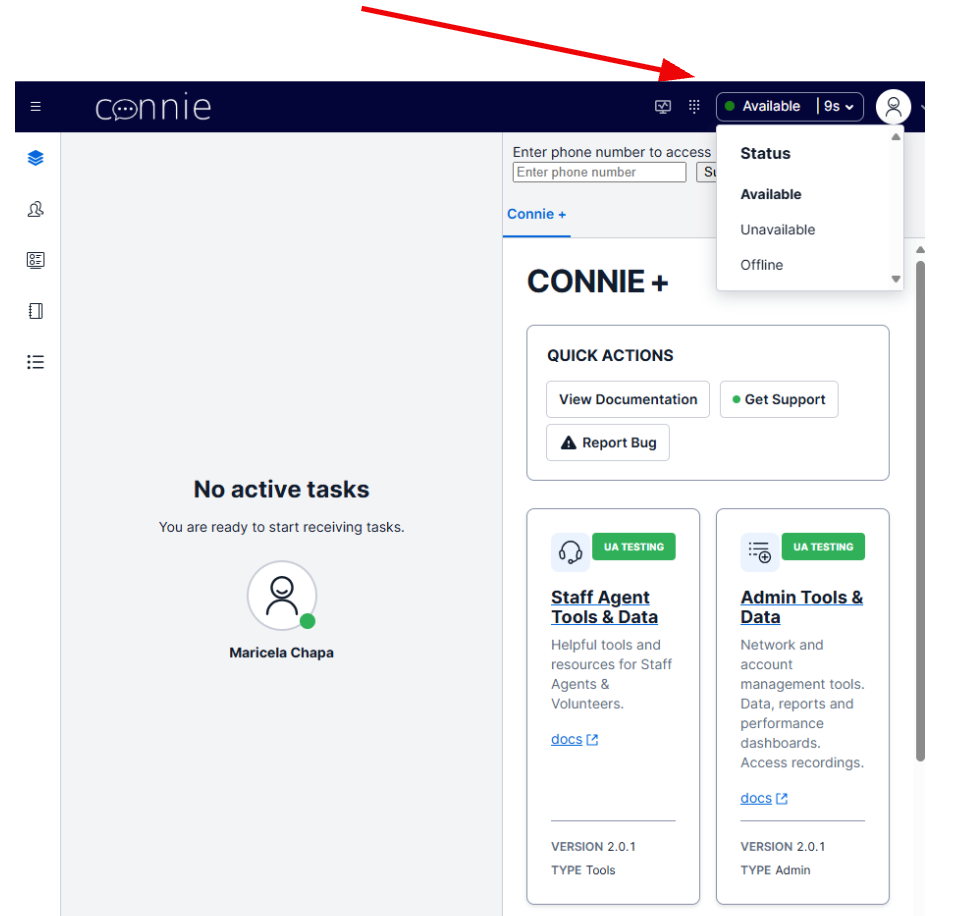
✅ Step 5: Set Your Status to Available
Before you can start receiving tasks, you need to set your status to "Available":
- Locate the user control menu at the top right-hand corner
- Click the dropdown menu
- Select "Available"
Understanding Status Options
| Status | What It Means |
|---|---|
| Available | You can view and manage incoming tasks |
| On a Task | Automatically set when you accept a new task |
| Unavailable | You're logged in but not accepting tasks |
| Offline | Automatically set when you log out |
Important
Your status must reflect "Available" to view and manage incoming tasks!
🎯 Next Steps
Now that you're set up, learn how to:
Need help? Check our FAQ or visit Get Support.